
Winter puts your home’s insulation to the test in ways most homeowners never think about until damage has already started. When warm, moist indoor air meets cold surfaces inside your walls, attic, or crawl space, condensation forms. That moisture saturates insulation, reduces its thermal performance, and creates the perfect conditions for mold growth, wood rot, and structural deterioration. Effective winter insulation moisture prevention is not just about staying warm. It’s about protecting the materials that keep your home energy-efficient, structurally sound, and healthy to live in for years to come.
This guide explains why moisture accumulates in insulation during the cold months, how to identify the warning signs, and what specific steps you can take to prevent it before costly damage takes hold.
Why Does Moisture Build Up in Insulation During Winter?
Understanding the problem starts with understanding the physics behind it. Three forces drive moisture into your insulation during the winter months: condensation, air leakage, and bulk water intrusion.
Condensation
Warm air holds more moisture than cold air. During winter, your heated indoor air carries water vapor generated by cooking, showering, breathing, and everyday household activities. When that warm, humid air migrates through walls, ceilings, and floors toward the colder exterior, it eventually reaches a surface or zone cold enough to cause the water vapor to condense into liquid. This point is called the dew point.
If the dew point falls within your wall cavity or attic insulation, moisture condenses directly onto or within the insulation material. Over time, this repeated cycle of condensation saturates the insulation, dramatically reducing its R-value and creating conditions where mold and rot thrive.
Air Leakage
Even in well-built homes, warm indoor air finds pathways into wall cavities, attic spaces, and other unconditioned areas through gaps, cracks, and penetrations. Common air leakage points include electrical outlets on exterior walls, recessed light fixtures that penetrate the attic floor, plumbing and wiring penetrations, poorly sealed attic hatches, and gaps around window and door frames.
Every cubic foot of warm, moist air that leaks into a cold cavity carries water vapor with it. Air leakage is actually a larger contributor to moisture problems in insulation than vapor diffusion through building materials in most homes, which is why air sealing is such a critical part of any moisture prevention strategy.
Bulk Water Intrusion
While not directly related to indoor humidity, roof leaks, ice dam damage, and exterior wall water penetration can introduce liquid water into insulation during winter. Ice dams are a particularly common winter problem. When heat escaping through a poorly insulated attic melts snow on the roof, the meltwater runs down to the colder eaves, refreezes, and creates a dam that forces water back under the shingles and into the attic space.
Warning Signs of Moisture in Your Insulation
Moisture damage in insulation often develops hidden behind walls and above ceilings, but there are visible and sensory clues that suggest a problem is underway.
Musty odors in specific rooms or areas of the home, particularly in winter or during the transition into spring, often indicate mold growth within wall cavities or attic spaces.
Staining on ceilings or walls that appears or worsens during cold months can signal condensation accumulating above or behind the finished surface.
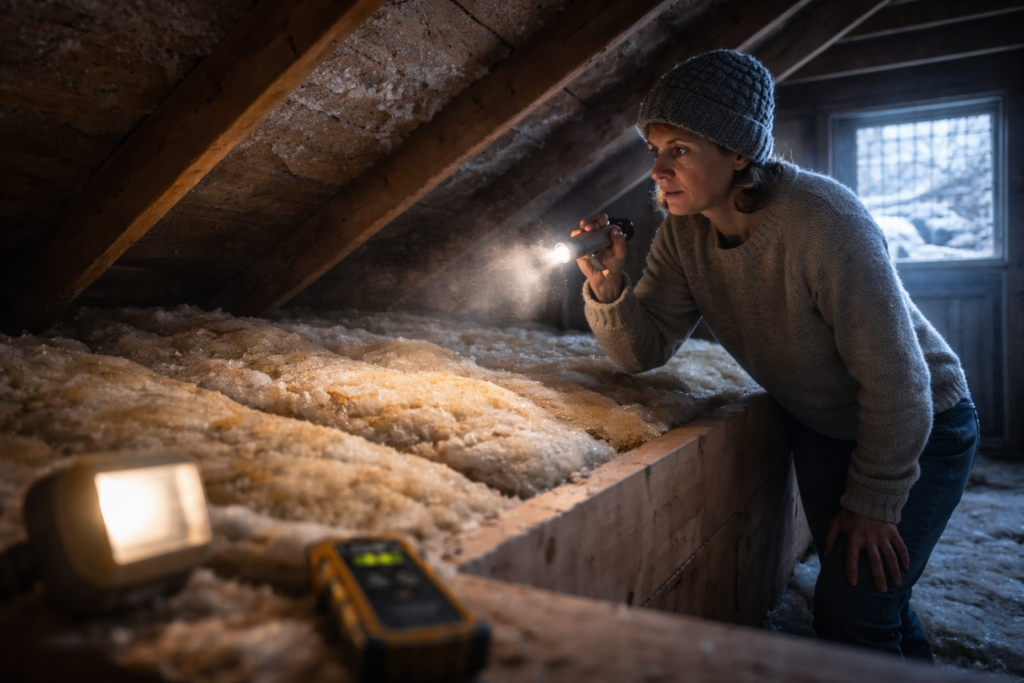
Frost or ice on attic sheathing. If you inspect your attic during a cold spell and find frost, ice crystals, or visible moisture on the underside of the roof deck, warm moist air from below is reaching the cold sheathing and condensing.
Peeling paint or bubbling wallpaper on exterior walls is a classic indicator that moisture is migrating through the wall assembly and reaching the interior finish.
Visible mold on any surface, whether in the attic, on basement walls, around windows, or in closets along exterior walls, should be treated as an urgent sign that moisture is present and needs to be addressed.
Wet or compressed insulation. If you can safely access your attic or crawl space, check insulation for dampness, discoloration, or sagging. Wet insulation that has compressed or matted down has lost much of its insulating value and is likely harboring mold.
How to Prevent Moisture in Insulation During Winter
Preventing moisture problems requires a layered approach that addresses air movement, vapor control, ventilation, and insulation performance together. No single strategy works in isolation. The most effective winter insulation moisture prevention combines multiple measures tailored to your home’s construction and climate zone.
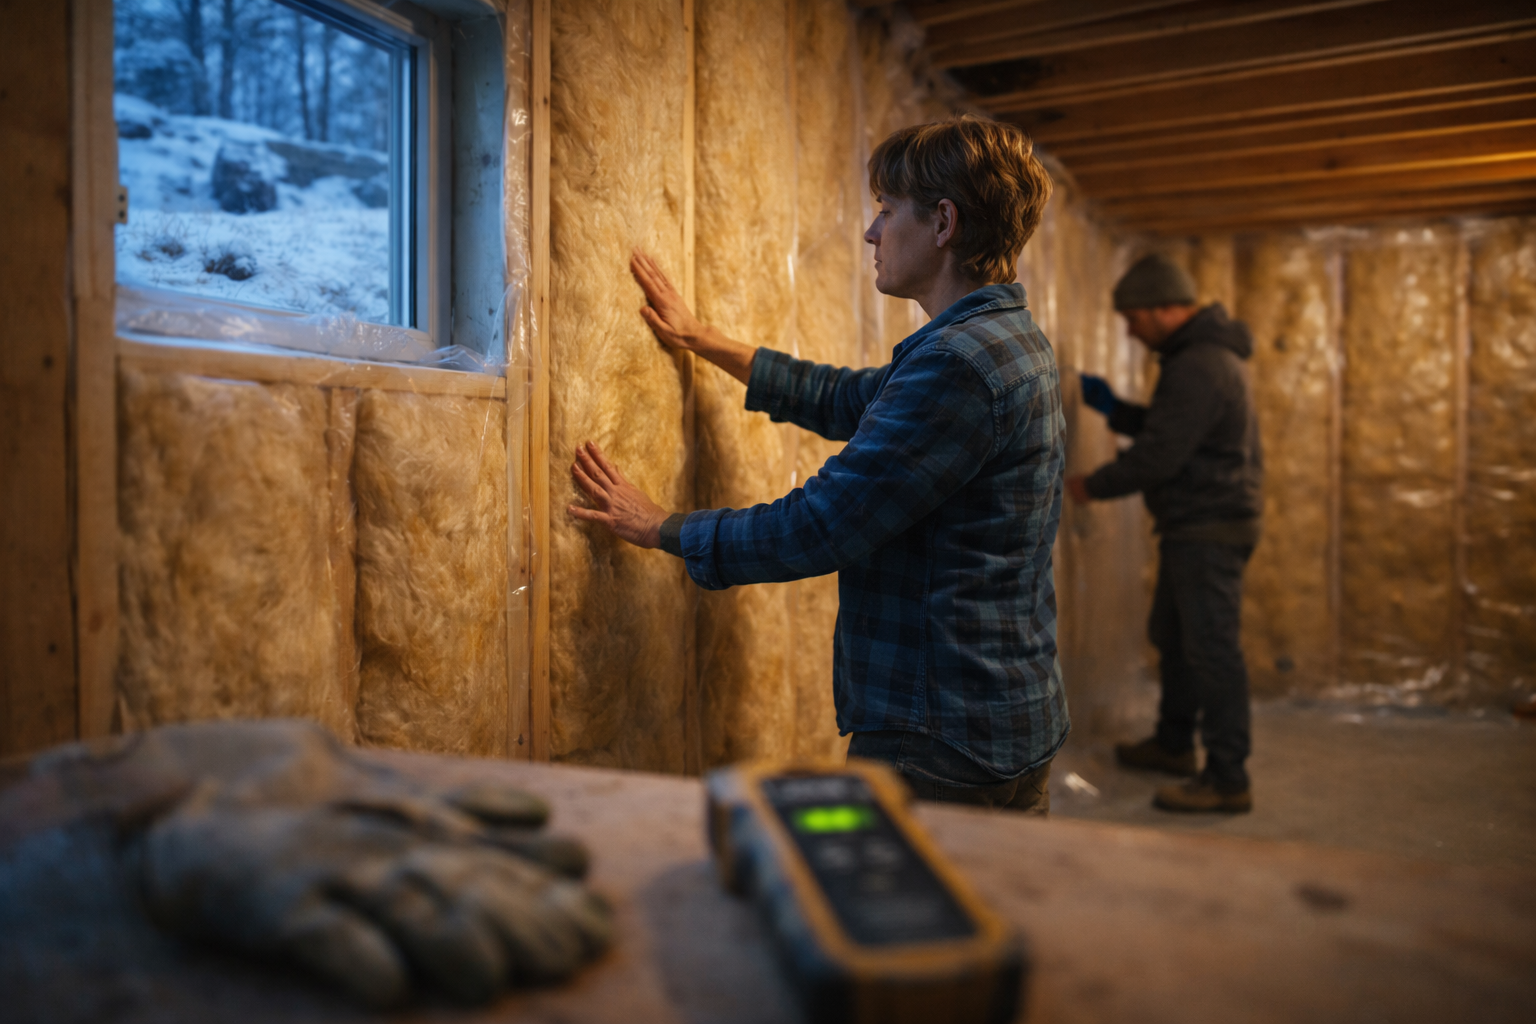
1. Air Seal Before You Insulate
Air sealing is the single most impactful step you can take to prevent moisture from reaching your insulation. Closing the pathways that allow warm, humid air to escape into cold cavities stops the problem at its source.
Focus on the attic floor first, as this is where the greatest volume of air leakage typically occurs. Seal around electrical and plumbing penetrations, ductwork boots, recessed light housings (or replace them with airtight IC-rated fixtures), the attic hatch or door, chimney and flue chases, and any other gaps where the conditioned space connects to the unconditioned attic.
In wall assemblies, seal around electrical boxes, window and door rough openings, and any penetrations through the exterior sheathing or interior drywall. Caulk, spray foam, weatherstripping, and rigid foam board are all effective air-sealing materials depending on the size and location of the gap.
2. Install the Right Vapor Control Layer
A vapor barrier or vapor retarder controls the rate at which water vapor diffuses through building assemblies. The type and placement of this layer depends on your climate zone, and getting it wrong can actually make moisture problems worse.
In cold climates (generally DOE climate zones 5 through 8), a vapor retarder is typically installed on the warm side of the insulation, meaning the interior face of exterior walls and the top of attic floor insulation. This slows the movement of indoor moisture toward the cold exterior.
In mixed climates (zones 3 and 4), the approach is more nuanced. A “smart” vapor retarder that adjusts its permeability based on humidity levels is often the best choice, as it allows the assembly to dry in both directions depending on seasonal conditions.
In hot, humid climates (zones 1 and 2), the vapor drive is often from the exterior inward, which reverses the logic entirely. In these regions, placing a vapor barrier on the interior side can trap moisture inside the wall.
If you’re unsure which approach is right for your home, consulting a building science professional or energy auditor is well worth the investment. Incorrectly placed vapor barriers are a leading cause of trapped moisture and hidden mold growth in wall assemblies.
3. Ensure Proper Attic Ventilation
A well-ventilated attic plays a critical role in winter moisture prevention. Ventilation allows moist air that does reach the attic to escape before it condenses on the cold roof sheathing.
The standard approach uses soffit vents at the eaves paired with a ridge vent or gable vents near the peak, creating a continuous airflow path that flushes moisture-laden air out of the attic. The general guideline is 1 square foot of net free ventilation area for every 150 square feet of attic floor space, reduced to 1:300 if a vapor retarder is present on the warm side.
Make sure insulation does not block soffit vents. Insulation baffles (also called rafter vents or vent chutes) installed between the rafters at the eaves maintain a clear air channel from the soffit to the attic interior, even when insulation is installed right up to the edge of the attic floor.
4. Control Indoor Humidity Levels
Reducing the amount of moisture in your indoor air during winter directly reduces the amount of moisture available to migrate into building assemblies.
Use exhaust fans in kitchens and bathrooms during and after cooking and bathing, and make sure those fans vent to the exterior, not into the attic or soffit. Homes with exhaust fans that terminate in the attic are at significantly higher risk of insulation moisture damage.
If your home’s relative humidity consistently exceeds 40% to 45% during winter, consider using a dehumidifier or adjusting your ventilation strategy. A hygrometer, available for just a few dollars, lets you monitor humidity levels in different rooms and identify areas where moisture is elevated.
Avoid drying clothes indoors without adequate ventilation. Vent clothes dryers to the exterior. Limit the use of humidifiers, or use them only in rooms where humidity is genuinely low. These seemingly small habits can meaningfully reduce the moisture load your building envelope has to manage.
5. Address Ice Dams at the Source
Ice dams are a symptom, not a root cause. They form because heat is escaping through the attic, melting snow on the roof unevenly. The lasting fix is not heat cables or aggressive roof raking (though those can help manage symptoms in the short term) but rather improving attic insulation and air sealing so that less heat reaches the roof deck.
A properly insulated and air-sealed attic keeps the roof surface cold and uniform, which prevents the melt-freeze cycle that creates dams. Adequate attic ventilation further helps by flushing any residual heat before it warms the sheathing.
6. Insulate Properly in Crawl Spaces and Basements
Crawl spaces are particularly vulnerable to winter moisture problems. The traditional approach of venting crawl spaces to the exterior can actually introduce cold, moist air that condenses on warmer surfaces inside the space. In many climates, an encapsulated crawl space with insulation on the walls, a sealed vapor barrier on the floor, and conditioned air introduced from the home’s HVAC system is a far more effective moisture management strategy.
For basements, insulating rim joists with closed-cell spray foam or rigid foam board and sealing any air leaks in the band joist area addresses one of the most common condensation zones in the home.
What to Do If You Already Have Wet Insulation
If you’ve discovered moisture-damaged insulation, acting quickly limits the scope of the problem.
Identify and stop the moisture source first. Whether it’s an air leak, a missing vapor barrier, a bathroom fan venting into the attic, or a roof leak, the source must be resolved before any remediation work will be effective.
Remove and replace wet insulation. Fiberglass and cellulose insulation that has been saturated loses its thermal performance and is extremely difficult to dry in place. Wet insulation that has been in contact with organic materials like wood sheathing is almost certainly harboring mold.
Inspect surrounding materials for damage. Check the roof sheathing, wall framing, subfloor, and any other structural wood for signs of rot, mold, or fungal growth. Address any structural damage before reinstalling insulation.
Bring in a professional if the affected area is large or if mold is visible. Mold remediation in wall cavities and attic spaces is not a reliable DIY project. Proper containment, removal, and treatment require equipment and expertise that protect both the home and the occupants’ health.
Frequently Asked Questions
Why does insulation get wet in winter?
Insulation gets wet in winter when warm, moist indoor air migrates into cold wall cavities, attics, or crawl spaces and reaches the dew point, causing water vapor to condense into liquid. Air leaks, inadequate vapor barriers, poor attic ventilation, and ice dams are the most common causes.
Can wet insulation cause mold?
Yes. Wet insulation creates an ideal environment for mold growth, especially when it’s in contact with organic materials like wood framing or paper-faced drywall. Mold can begin developing within 24 to 48 hours of sustained moisture exposure and will continue to spread until the moisture source is eliminated and the affected materials are remediated.
Should I remove wet insulation or let it dry?
In most cases, wet insulation should be removed and replaced. Fiberglass batts and blown-in cellulose do not dry effectively in enclosed wall or attic cavities, and prolonged dampness leads to mold growth and structural damage. Closed-cell spray foam is more moisture-resistant but should still be inspected if bulk water exposure has occurred.
How do I know if my attic has a moisture problem?
Check for frost or ice on the underside of the roof sheathing during cold weather, look for staining or discoloration on the sheathing or framing, feel the insulation for dampness, and note any musty odors. A professional energy audit that includes thermal imaging can reveal moisture issues that aren’t visible to the naked eye.
Does a vapor barrier go on the warm side or the cold side of insulation?
In cold climates, the vapor barrier or retarder is installed on the warm (interior) side of the insulation to prevent indoor moisture from reaching the cold cavity. In hot, humid climates, the vapor drive reverses and the barrier goes on the exterior side. In mixed climates, a variable-permeability “smart” membrane is often the best choice. Placement depends on your climate zone and wall assembly design.
How much indoor humidity is too much in winter?
During winter, indoor relative humidity above 40% to 45% increases the risk of condensation forming in walls, attics, and other building assemblies. Use a hygrometer to monitor levels and manage humidity with exhaust ventilation, dehumidifiers, and moisture-reducing habits like venting dryers to the exterior and running bathroom fans during showers.
Protect Your Home Before Winter Does the Damage
Moisture in insulation is a slow, hidden problem that gets worse with every freeze-thaw cycle. The good news is that every contributing factor, from air leaks and vapor control to ventilation and indoor humidity, is fixable with the right approach.
Not sure where your home stands? Schedule an energy audit or insulation inspection with a qualified contractor who can use thermal imaging, moisture meters, and building science expertise to identify vulnerabilities before they become costly repairs. The best time to prevent winter moisture damage is before the cold settles in. The second best time is right now.
Comments are closed.